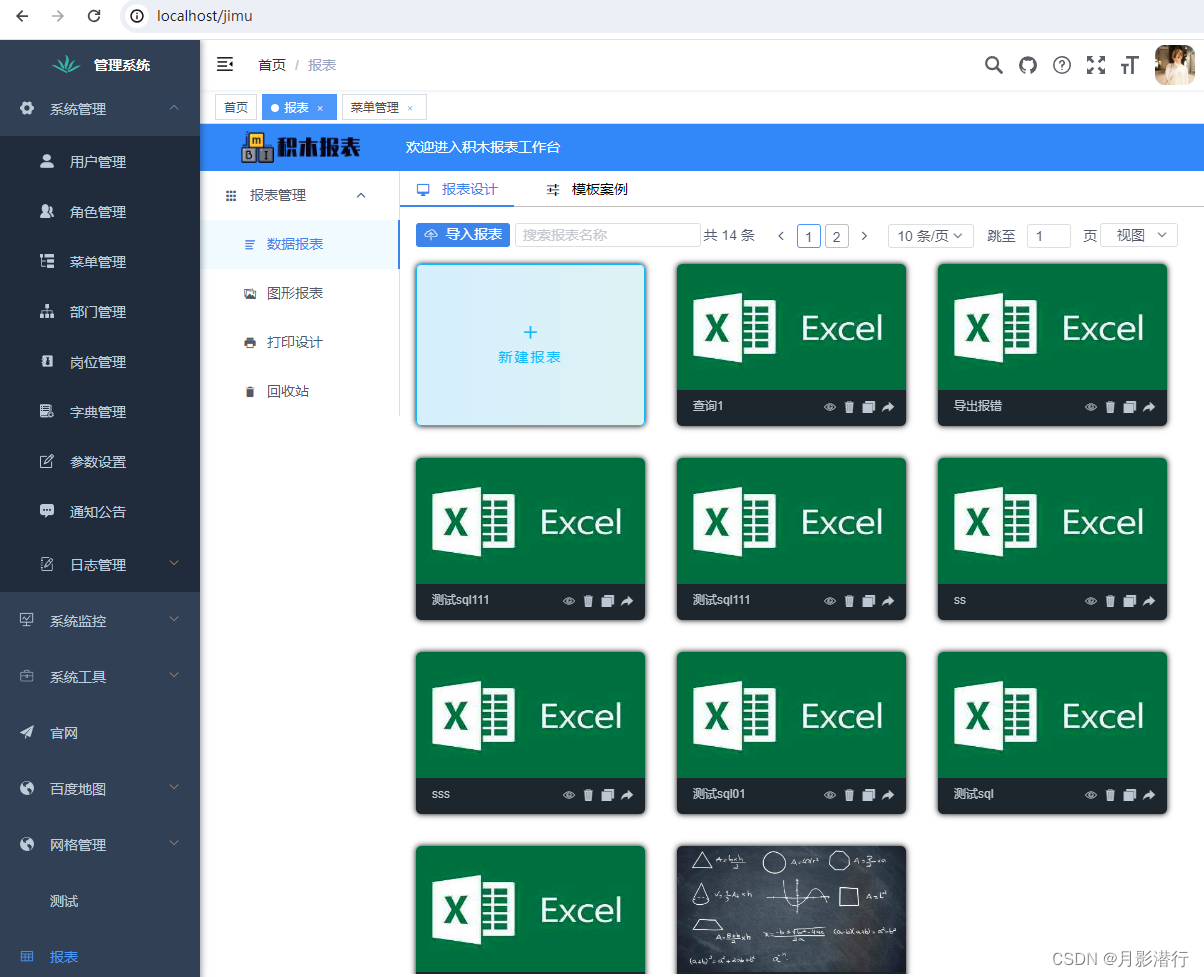
若依ruoyi集成积木报表(前后端分离版)
若依分离板集成积木报表,前后端代码分享,以及解决静态资源未加载成功问题。
(一)项目结构

(二)执行初始化脚本
https://github.com/jeecgboot/JimuReport/tree/master/db
(三)pom中引入积木报表最新依赖
org.jeecgframework.jimureport
jimureport-spring-boot-starter
${version}
(四)RuoYiApplication添加积木扫描路径
@SpringBootApplication(exclude = { DataSourceAutoConfiguration.class },scanBasePackages = {“org.jeecg.modules.jmreport”,“com.ruoyi”})
注:根据自己项目的包名调整代码
(五)SecurityConfig拦截排除(项目没有加入Token机制)
.antMatchers(“/jmreport/**”).anonymous()

(六)启动项目访问
若依默认端口是8848,可以根据自己的需求集成到若依系统里面(如集成到菜单)
积木报表访问地址:http://localhost:8848/jmreport/list
(七)集成到菜单
(1)创建自己的module

创建后:

(2)配置maven的pom.xml


(3)配置后即可调用到后端接口:

package com.ruoyi.project.mvc;
import com.ruoyi.common.core.controller.BaseController;
import org.springframework.security.access.prepost.PreAuthorize;
import org.springframework.web.bind.annotation.GetMapping;
import org.springframework.web.bind.annotation.RequestMapping;
import org.springframework.web.bind.annotation.RestController;
@RestController
@RequestMapping(“/system/report”)
public class ReportController extends BaseController {
@PreAuthorize(“@ss.hasPermi(‘system:report:index’)”)
@GetMapping(value = “/getReport”)
public String getReport(){
return “/jmreport/list/”;
}
}
(4)前端代码:

mounted: function() {
setTimeout(() => {
this.loading = false;
}, 230);
const that = this;
window.onresize = function temp() {
that.height = document.documentElement.clientHeight - 94.5 + “px;”;
};
}
};

import request from ‘@/utils/request’
export function indexUrl() {
return request({
url: ‘/system/report/getReport’,
method: ‘get’
})
}
(5)菜单配置:


(6)如果出现静态资源访问不到:


更多推荐
 已为社区贡献2条内容


所有评论(0)